The Right Way to Drain Your Air Compressor Tank
Proper maintenance is crucial to keeping your air compressor running efficiently and safely. One of the most overlooked but essential tasks is draining the compressor tank. But why is it so important, and how do you do it correctly?
In this article, we’ll cover why draining is necessary, the steps to drain your tank properly, and common mistakes to avoid.
💧 Why Do You Need to Drain the Tank?
As your compressor operates, it pulls in ambient air. Along with this air comes moisture, which condenses inside the tank due to pressure and temperature changes.
If left unchecked, this moisture can:
-
Cause internal rust and corrosion
-
Lead to contaminated air output
-
Reduce the lifespan of the compressor
-
Damage air tools or paint finishes
👉 Draining your tank regularly prevents all of these issues.
⏰ How Often Should You Drain It?
-
Daily use: Drain after every use
-
Occasional use: Drain before and after extended periods of storage
-
Humid environments: May require more frequent draining
📌 Tip: Make it a habit to drain the tank at the end of each day’s work.
🛠 How to Drain an Air Compressor Tank (Step-by-Step)
Step 1: Turn Off and Unplug
Ensure the compressor is turned off and unplugged from the power source. This prevents accidents during the process.
Step 2: Release Pressure from the Tank
Open the air release valve (usually a pull ring or knob) to allow air pressure to escape. Wait until the tank pressure gauge reads zero.
Step 3: Locate the Drain Valve
This is typically located at the bottom of the tank, often on the underside or near a foot.
Step 4: Position for Drainage
Tilt or raise the compressor slightly (if needed) so that water flows toward the drain valve. Place a container underneath to catch the water, or do it over a suitable drainage area.
Step 5: Open the Drain Valve
Turn the valve counterclockwise (or pull it open) to let moisture escape. You may hear a hiss of air or sputtering water.
Step 6: Let It Drain Completely
Allow all water and air to exit. If no water comes out, insert a thin tool (like a zip tie) carefully to clear sediment blocking the hole.
Step 7: Close the Valve and Store
Once drained, close the valve tightly. If storing the compressor, keep the tank empty and valve slightly open to prevent internal pressure build-up.
🔍 Types of Drain Valves
| Valve Type | Description | Ease of Use |
|---|---|---|
| Manual Drain Valve | Standard twist valve, usually metal | Common, reliable |
| Ball Valve | Lever-style for quick opening/closing | Fast and user-friendly |
| Automatic Drain Valve | Timed or float-based valve | Low-maintenance but higher cost |
💡 Upgrade to an automatic drain valve if you use your compressor daily and want convenience.
⚠️ Common Mistakes to Avoid
-
Leaving moisture inside: Leads to rust and weakens the tank
-
Draining under pressure: Dangerous and can cause injury
-
Forgetting to close the valve: Leads to air leaks and poor performance
-
Not checking for blockages: Sludge can clog the drain hole
-
Ignoring unusual noises during draining: May indicate trapped debris or internal rust
🧰 Pro Tips for Compressor Maintenance
-
Inspect drain valve monthly for rust or wear
-
Use pipe thread tape if your valve begins to leak
-
Flush with compressed air every few months to clear sediment buildup
-
Store in a dry environment to reduce condensation inside the tank
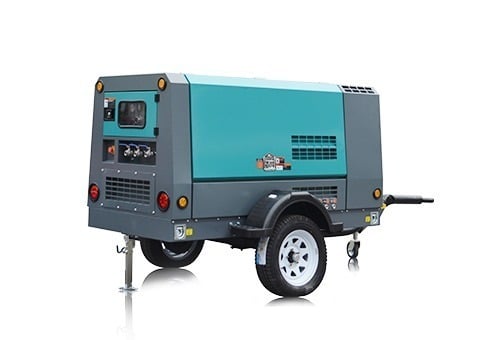
🛒 Need a New Air Compressor?
At PowerEquipment.co.za, we stock a large variety of electric and diesel air compressors.